Computers allow you to conduct specifications under different settings. With the right set of skills, you can improve your technical know-how a bit higher than the other ordinary users.
Mac, on the other hand, is a sophisticated computer substitute that is not only a successful trademark. This brand of computers allow you to make fast shortcuts, install superior apps, and most importantly take screenshots whenever you like. However, Macintosh keyboards do not have a print screen (prtsc) that can be commonly found in almost all windows keyboard. Instead, you should know the specific key combinations/commands that allow you to capture the desired screen shot.
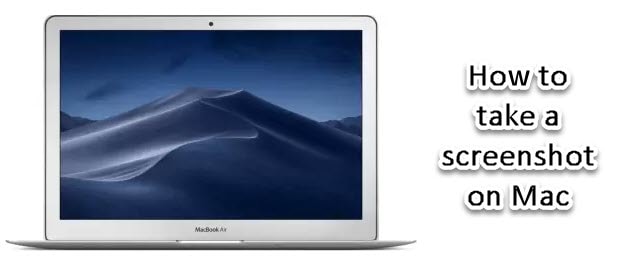
In this article, the main focus will be How to take a screenshot on Mac.
Note that there are three simple keys you should press.
Here is a step by step procedure
Taking a screenshot of the entire screen
Step #1.Continuously press and hold the Shift key, Command key, and the number 3 key on the keyboard for less than a second
Step # 2. A thumbnail should appear at the top right corner of your screen. You can edit the screenshot before saving the final copy. Alternatively, you can wait for the screenshot to auto save then you can edit it on the desktop where it is saved.
Renaming the screenshot
The screenshot will have a name like ‘Screenshot 2020-09-24 at 16.20.56 or Screenshot 2020-09-24 at 17.20.56′(date and exact time). By double/single clicking the photo (depending on your folder settings), the screenshot will open on a new window.
Hover your cursor to the top of the screen where there is a .jpg file name. You should see a drop down button. Click on it and the arrow will allow you to rename, duplicate, move to iCloud, and perform other key functionalities.
Only taking a screenshot of a portion of the screen
If you do not want to take a screenshot of the entire screen, you can choose to capture only the potion most desired.
Here are the key steps to follow.
Step #1.Continuously press and hold the Shift key, Command key, and the number 4 key
Step #2. A cross hair pointer will appear on the screen
Step #3.Double click the track pad and drag the section you want to capture
Step #4. Let go of the highlighted section and it will be automatically pasted on the desktop
Screen capturing a window
To capture a window, there are also a few steps involved.
1. Press Command + Shift + 4 + space
2. A camera cursor will appear and allow you to navigate the screen to choose a particular window to capture
3. The screen capture will also be saved on the desktop
More advanced commands
To directly capture and paste your screenshot on another application, you need to press the Command key, control key, shift key, and number 3. These key combinations allow you to capture, copy the screenshot, and paste it in any application you desire.
Where to locate the screenshots
Screenshots are automatically saved on the desktop. However, you can optionally change this location by continuously pressing the command key + Shift key + number 5 key. A pop up window will appear to allow you choose your preferred location (either the Documents, Clipboard, Mail, Messages, preview, or other locations).


Reply