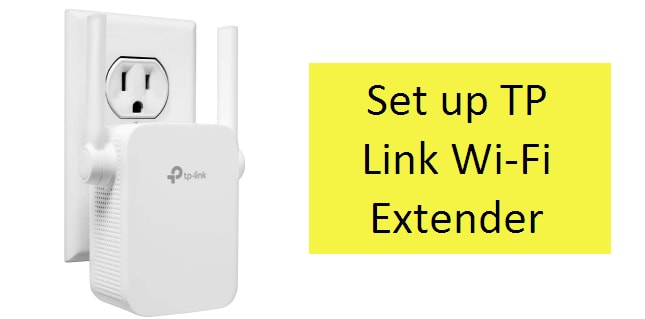
You have just got a TP link extender to increase your home Wi-Fi performance. You are thinking ‘How to set up TP link extender’. Worry not, its super easy! There are just a few steps to follow and you are done.
Below is a detailed guide on how to set up TP link extender. Follow these steps to start enjoying the internet access service this device provides!
WAYS TO FOLLOW IN ORDER TO SET UP YOUR TP LINK EXTENDER
You can set up your extender with a WPS or without a WPS. What does WPS mean on WI-FI extender? A WPS simply means WI-FI protected set up. If your extender has a WPS you install with it. If you have no WPS button, no worries, you can install without it. You can set up your extender either way.
However before diving into the technical procedure for setting up your tp link extender, check where you have placed it. Why? The TP link extender can get interference from other waves. This includes blockages from walls, gadgets or equipments in the home like shelves and so on.
Decide where you need the WI-FI extender the most in the home. Try to balance distance from your router and the place the signal in a place it is needed the most. Also, put the extender in an open place. This way you will cancel out every form of interference you could have encountered.
JUST BEFORE STARTING, KNOW THESE FEW THINGS
- Your IP address: This is a numerical label assigned to your device.
- SSID: This is your network name.
- Your password.
You need to know all these to log in. If you are unable to remember this or you have no idea on the above details, there is a way out.
- Open the prompt command.
- Type this in ‘ipconfig/all’
- All the letters must be in lower cases.
- You will see all the information required to log in.
- Type in all the information needed to log in.
- Now log in.
If you experience problems logging in, try contacting your internet service provider. You will get the support that you need. If you have logged in already, follow the steps below.
HOW TO SET UP TP LINK WiFi EXTENDER WITH WPS BUTTON
- Firstly, plug in the TP link extender to a wall socket close to your router.
- Press the WPS button on the back of the router.
- The WPS Led will start blinking.
- Now press the WPS button of the extender.
- The TP link extender will automatically be configured to your WI-FI network. You will have to wait for this.
- After a while, check the connection.
This process requires no manual configuration. By pressing the WPS button, your router will automatically connect with a device that has a WPS set up. Reset both devices if the configuration does not happen. You can do the configuration manually when this process fails even after resetting.
HOW TO SET UP TP LINK EXTENDER WITHOUT WPS BUTTON
- Firstly, plug in the TP link extender into a wall socket
- Connect it with your computer using a suitable Ethernet cable.
- Open a browser on the device. Type in ‘http://tplinkrepeater.net’
- A TP link web page will appear.
- Select quick set up, and then click next.
- Now select region, then select next.
- The TP link extender may take a few minutes scanning for wireless network.
- Select your own wireless network then click next.
- Now you put in your password.
- Now you can either ‘copy from the main router’ or ‘customize’. If you go for customize, you get to create a different network. Copying from main router gives you access to one wireless network.
- Once you are done, select next.
- Now review the network setting. If all is fine, select finish.
The TP link extender will reboot. After that you will get internet access. Test the connection with the Ethernet cable and then without the cable. For some TP link extender models, there will be a light in front. This front light indicates if there is a connection or not.
That is all on how to set up TP link extender. With this, you should have your device configured and running.


Reply