Registering a Kindle device is one of the first steps we must take with our digital reading device. Registering your Kindle allows you to buy and download Kindle content, something really very useful. If you do not know how to register Kindle, pay attention to the steps that we tell you below.
HOW TO REGISTER KINDLE E-READER?
The first thing you should be clear about is what Kindle model you have. If it is a 3rd generation Kindle or later, follow these steps after making sure that it is connected wirelessly to a network. To register a Kindle, you must:
- Go to Menu> Settings.
- Go to “My Account” or “Register.”
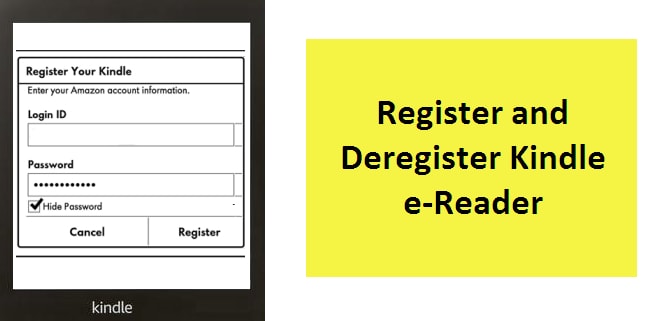
- Choose if you already have an Amazon account.
- Now enter login id and password
- If you don’t have Amazon account, you can create a new one.
HOW TO REGISTER KINDLE E-READER? (3rd Gen and Above)
Registration of the Kindle reader is very simple.
- To do this, click the Menu icon in the upper right corner of the Kindle home screen and select Settings.
- Then select My Account from the expanded list.
- If you already have an account on the Amazon platform, enter your details to register. If you don’t have an account, you can create one.
If you already have an account after the last step, you will access the registration. Conversely, if you do not have an Amazon account, you will access instructions to create it, configure it, and then enhance the Kindle registration. This is it! Now you know how to register kindle.
HOW TO DELETE THE REGISTRATION OF A KINDLE?
Now you know how to register Kindle. But what if you want to deregister now? There are many reasons why you want to unregister a Kindle. You may have been given a device, loaned it, want to transfer it to someone else, or it is registered in the wrong account. Now, to delete a Kindle record, you must do the following:
Procedure for the Kindle (basic)
In order to successfully cancel the registration of the Kindle it is necessary to have the device connected to the Internet, via WiFi, for example. Before continuing, it is important to remember that once you unregister the Kindle, the device will not appear in your Amazon user account, and you will not be able to access the downloaded content in “my library” on the Kindle.
Without further delay, below we discuss how to cancel this registration both from a computer and from the eReader itself:
From a Computer:
- We go to the Amazon home page and login to our user account.
- Within the user options box, we select Manage my content and my devices.
- The devices or applications associated with our account will appear, and we select the one that we are interested in unlinking.
- We click on Cancel registration to finish.
From the Kindle:
- From the main screen, press the Menu button.
- Next, we choose the Configuration option.
- Finally, we click on Cancel registration, and we will finish the process.
Procedure for the Kindle Paperwhite (3rd Gen and Above):
To unlink the user count from the Kindle Paperwhite, both the same conditions and the same consequences are considered as those discussed in the case of the basic Kindle in the previous section. Below is a step-by-step explanation of how to unlink the account:
From a Computer:
We apply what is explained in the section with the same name related to the Basic Kindle
From the Kindle:
- Press the Menu icon from the main screen.
- We click on Settings
- Then we click on Register
- To finish, we will press the option “Cancel registration”
And that’s it! Once you have followed all these steps, you can register the Kindle in another Amazon account. On the other hand, you should know that you can also delete the Kindle registration through the Amazon website, in the “Manage content and devices” section.


Reply