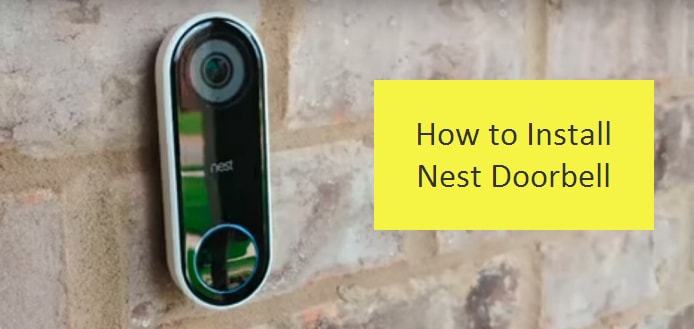
The nest doorbell is one of the most excellent tools because it has the facial recognition feature in it. Millions of people use this tool all around the world because it has cardinal features. When the nest doorbell is installed to the door, it is easy to identify when someone is at the door. Besides, you will not miss any visitors or anyone. Above all, you can check before opening the door. One of the coolest features in this tool is that you can use it even in night vision mode as it has that feature. You can get sharp and bright images along with high-quality videos. This has become one of the best security doorbells with cameras used by people all around the world. It is essential to mention that the doorbell has a 24/7 streaming option as well.
For example, say that you are not home and it has been more than three hours, so you want to check everything that happened during that time. You can check the snapshot history that you can access from the nest doorbell camera. Therefore, this doorbell could be one of the most considerable investments that you make. The function for outdoor monitoring started in 2016, whereas the indoor tracking began in 2014. Now that you have some knowledge on what nest doorbell is and what features it has, it is time to find how to install nest doorbell correctly!
Steps to install nest doorbell perfectly
Now that you’ve covered the basics, it is about time to learn how to install nest doorbell perfectly! Before you think of installing this, you much check whether the existing chime wiring and the doorbell can offer the necessary power. If you don’t get enough power, you have to upgrade the system. Plus, the Nest App will help you throughout the installation process; therefore, make sure to install it on your mobile. Now, let’s get started.
Step 1: Check the compatibility
Of course, nest doorbell is manufactured to replace your current doorbell. But there are specific doorbell systems that don’t have the required voltage for your nest doorbell. If your present doorbell doesn’t corporate, you can purchase Nest Pro that will help you increase the voltage.
Step 2- Things needed
A tablet or phone that has the ability to sync.
The password and username for your Wi-Fi.
The Internet connection that has at least, 2mbps speed to support the camera.
Open a nest account or if you have an account, sign in. (To open an account you have to download the Nest App, and it is available in Play Store and Apple App Store)
Step 3- Scan the QR code
New Nest User – Click Add new plus Home Screen.
If you are using Nest product, then click settings options which are on the left section of the navigation panel.
And then, you will be asked to scan the QR code, and you can find it behind the body of the camera.
After the QR scanning, App will install the Nest doorbell.
Then, turn off the fuse box of your home. If you don’t do it, the additional voltage will damage your device. Therefore, it is essential to turn off the fuse box.
Step 4- Replace the new bell
Take off the Chime cover and the doorbell. You will require a scroll bug to highlight the chime.
Then, you have to follow the instructions on wiring screen to play the doorbell.
When you are installing you shouldn’t let chimes and connectors connect.
Once done, cover back the chime.
Next, disconnect the present bell and connect the wires.
Step 5- Mark holes on the door
Now, you have to mark holes on the plate of your door. Use a drilling machine to do this.
Step 6- Installing wire
This is when you install screws.
Ensure the Nest Logo is placed down.
Check whether the plate is in the right level; use a bubble level to do it.
Horizontal holes will help you keep the plat straightened.
This is the simplest way to install Nest Doorbell. So do it and enjoy it!


Reply